Showing posts with label light table. Show all posts

Monday, March 5, 2012

Mess Free Finger Painting

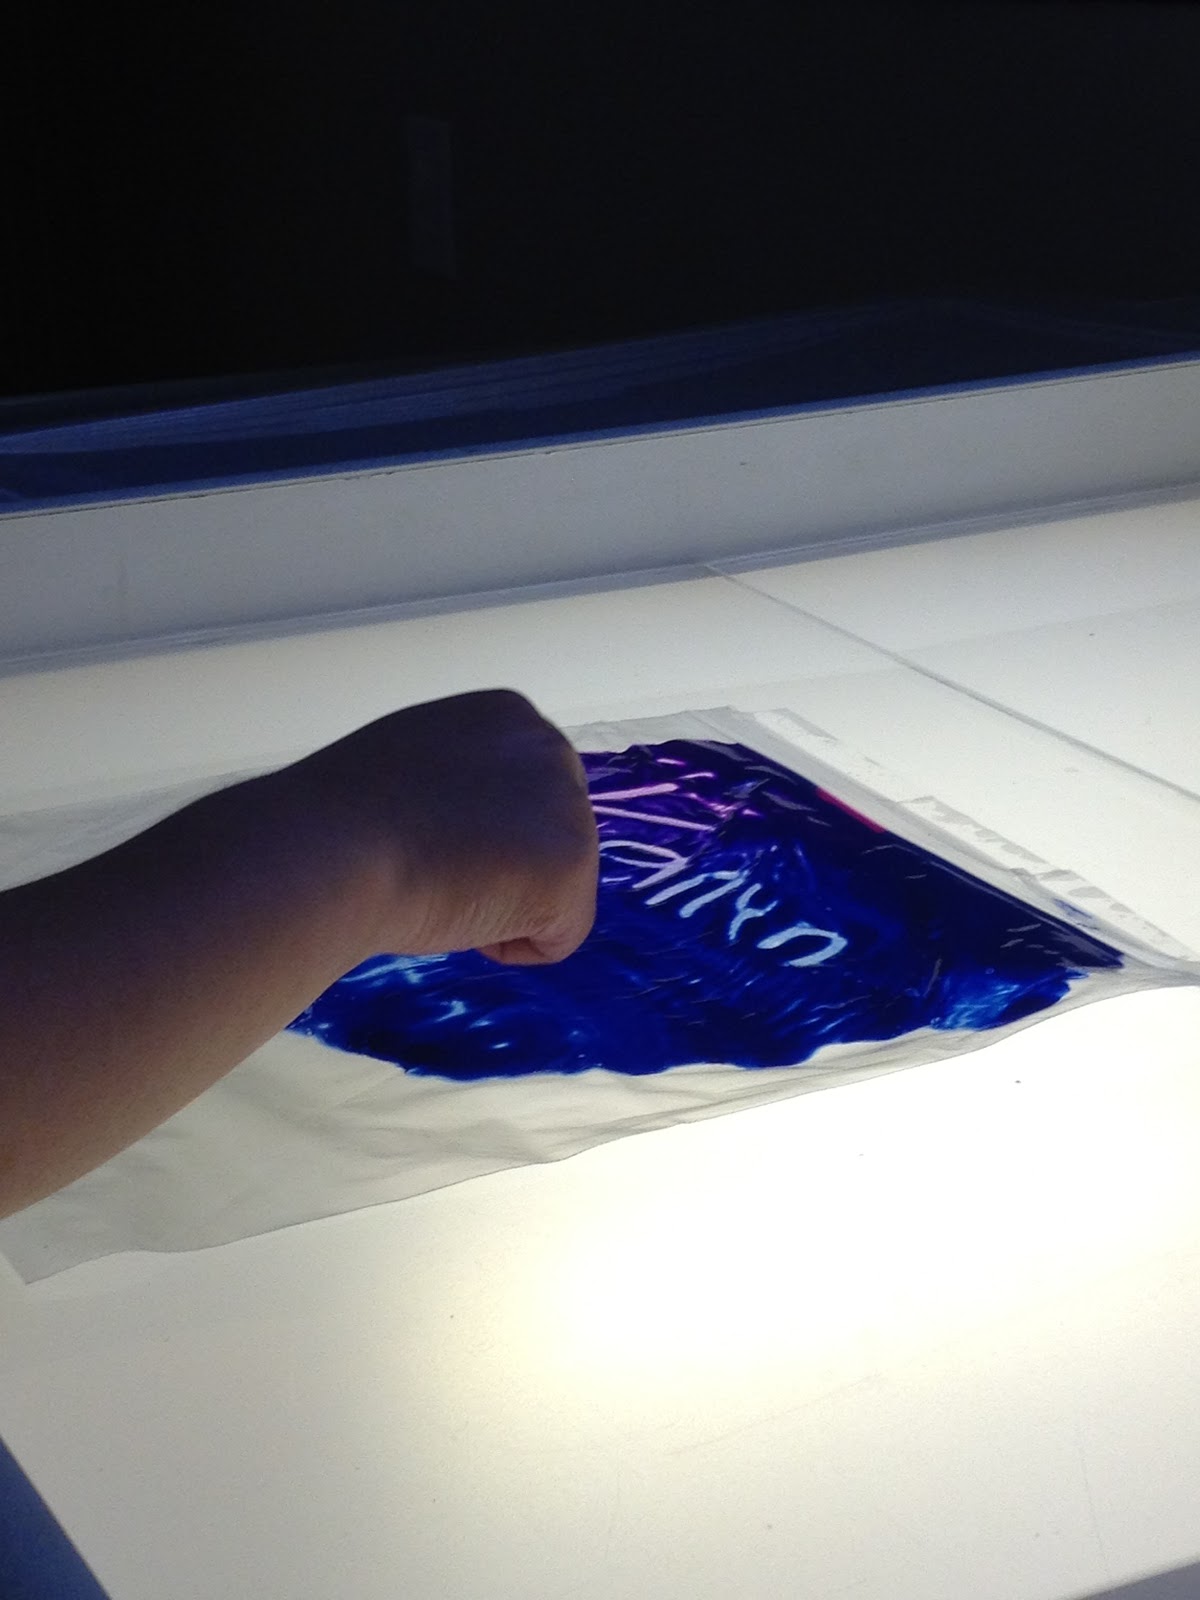
This idea, like a million others, has been making it's way through the blogs and Pinterest. I loved the idea and wanted to try it with K. There are a few different versions of this activity so I just went with what interested us the most. All we used was a quart size ziplock baggie and Paint. Easy!  Like usual, I let K make the decisions in this activity. She decided where she wanted to sit, what colors she wanted to use, and how much paint she wanted to put in. I try to give her as much independence as I can with our activities. I really enjoy seeing where her imagination takes her. I will give "suggestions" but she can take it or leave it.
She choose two colors per bag, and added the two colors in different areas of the bag so they were not touching yet. After she added the paint we sealed the bags and taped all four sides down to the light table.  I asked her before hand what color she thought it would make. Then fun the began. It was so fun to watch her blend the colors to see if she was right.
                

After she had blended the colors and played for a bit, I turned on the light table to give this activity a whole new perspective. She liked how the paint looked a lot better with the light on.
                    

Of course mom had to suggestion some educational ideas for her to do. So she practiced writing her name as well as practiced spelling her sight words. Any fun way I can throw in learning, I will do. She LOVES school but is not a big fan of practicing her spelling and sight words with mom. I left the bags on the table through the next day so she was able to go back to it as she wanted and play more. We will definitely be doing this activity again!

Thursday, March 1, 2012

DIY Light Table

The light table around our house is in full use. Kailyn LOVES it, and Colton has gotten some time on it as well. The whole light table idea was inspired by a blog I follow called Play at home mom. I loved the idea of a light table, but they are so expensive to buy. However, I felt that were so many educational, cognitive, fine motor, and imaginative benefits to it, that I was going to save up the money and buy one. I had been talking to Ryan about it a lot, and one day he had an idea to turn our train table into a light table!! I was already making a chalk board for it, so he figured we can get even more use out of it. Coincidental a few days later Play at home mom made a post to their blog about turning their train table in a light table. Great minds think alike right? So we got to work constructing our light table.

First we needed a large enough piece of plexiglass to cover the entire train table. Well you can't find white plexiglass at any hardware store, you have to special order it. We found it was getting very expensive as I was calling different places to price them. So we came up with an alternative. We bought a clear piece of plexiglass from Lowe's, and sized it to the table. We needed 32"x48".  They only way we could get a piece thick enough was to get two separate piece to size. All the other full sheets that would fit were way too thin. So we purchased two 24"x 48"x.225"sheets. Thankfully Lowe's will cut the sheets for you. So we got each piece cut down to 16"x48". You can't have a light table with clear plexigass! I decided to use frosted window privacy film to cover it. So off to the window department we went. Well whats a light table without lights!! We purchased 4 Ge florescent plug in lights, you can see here. We went with plug in just because it was easier for us. If you are really good with working with wiring, then there are other options as well. We just bought a power cord and connected them all together. Here is what it looks like inside the table.
                   

We now have the cord wrapped around the edges, and not going through the middle of the table. We were just testing the lights out in these pictures.
Next we needed to apply the window film. This is definitely a two person job, and you MUST purchase the application kit. Read ALL directions first, and very carefully. It is easy to mess it up. I helped Ryan separate the film and put it on the plexi glass, but he did all the hard work prepping it and working out the air bubbles.
When we were done with the film, it was time to add the plexiglass to the table and test it out!!


Here it is in the playroom. Next to it, I put a shelf that holds all of the light table activities. Being on shelves allows Kailyn easy access to whatever she wants to play with. We have Waterbeads, Magna Tiles, Crystal Climbers, Translucent  tiles, etc.
                  

There you have it, my DIY train table tutorial. It's something the whole family enjoys. K plays with it everyday. The only thing we will eventually change is I am going to save up to get one big piece of plexigalss for the table. Having two pieces does create some weakness in the middle of the glass since that is where the two pieces meet. Overall it works great and we hardly have any issues. Leave a comment and link if you decide to make one yourself. I would love to see what you create!!

Monday, February 27, 2012

Sorting Station

Last week we received our package from Discount School Supply. We had an item missing so I called up customer service and they were awesome. They apologized and sent out a replacement right away. The package was here in two days! It came in on Friday but we were camping at the beach all weekend so we didn't get to open it until Sunday. The item was an assortment of buttons. K was so excited and immediately ripped them open and began scoping them out. I told her if she spread them out it would be easier for her to see them all. She she grabbed a cookie sheet on her own and poured all he buttons on it. She started looking through them all and decided to pick out certain buttons and put them into her "cool" pile haha.
                      

Her sorting gave me an idea for an activitiy for her. Right before she went to bed I set up a sorting station for her.

She didn't know before hand what I was setting up, but I asked her where she wanted to do an activity at and she chose her light table. We have tile in her playroom so I bought a small rug for under $2 for her to sit/kneel on when playing at the table. Her poor knees were so red every time she would be done playing.
In the station I included buttons, translucent shape tiles, and dyed pasta wheels. I also set out 6 clear cups. When she came in I told her I set up a sorting station and she can use any/all of the materials to sort into any category she wanted. Since she is 5 I am very vague with suggestions, I like to watch her explore and create on her own. If she was a toddler or preschool age, I would have categorized the sorting cups into colors and then have the child sort all of the items by color. This way they are still working and playing on their own but with a little guidence/direction from me.
Right away she asked me to turn on the light table. I LOVE her light table so I was very excited that she asked me to do so.

She starting exploring the items and thought about how she was going to sort everything. She immediately went for the dyed pasta wheels. She started to add a few of them to the clear cup by color.
She was putting them in one by one and counting them at the same time. To my surprise she started doing subtraction with them all on her own!!
In this picture she was saying "I have 6 in the cup, if I take out 1, then that leave 5!" This little girl loves math so far and has been really good at it. This continued on for a while, subtracting and adding pasta wheels.
By the way, she is in a dance leotard. In an earlier post I talked about how much she LOVES dress up. Here is another example of her always wanting to wear dress up clothes no matter what she is doing!

She eventually sorted all the pasta wheels by color then evenly distributed the translucent shape tiles into the cups. Then she decided that was too orderly and she mixed everything together into mass chaos haha. I was too busy catching flying pasta wheels to take a picture. I guess we all deserve to let lose every now and then and create chaos!! Shortly after she was tired and asked to lay down, but she did ask to do a sorting game again after school the next day. I would say that activity was a success! I love that sorting can be so versatile. It can be real structured and you can have your child sort by color, numbers, shapes, texture and more. Or you can be very vague and let the child explore and sort however they see fit. This activity helps develop both cognitive and fine motor skills.

Wednesday, February 22, 2012

Light table sneak peak

I am still working on getting a post up on how we built our light table. Kailyn and Colton are loving it so far. So are mommy and daddy!! Until then, here are a few pictures of the kids having fun with the light table!!